
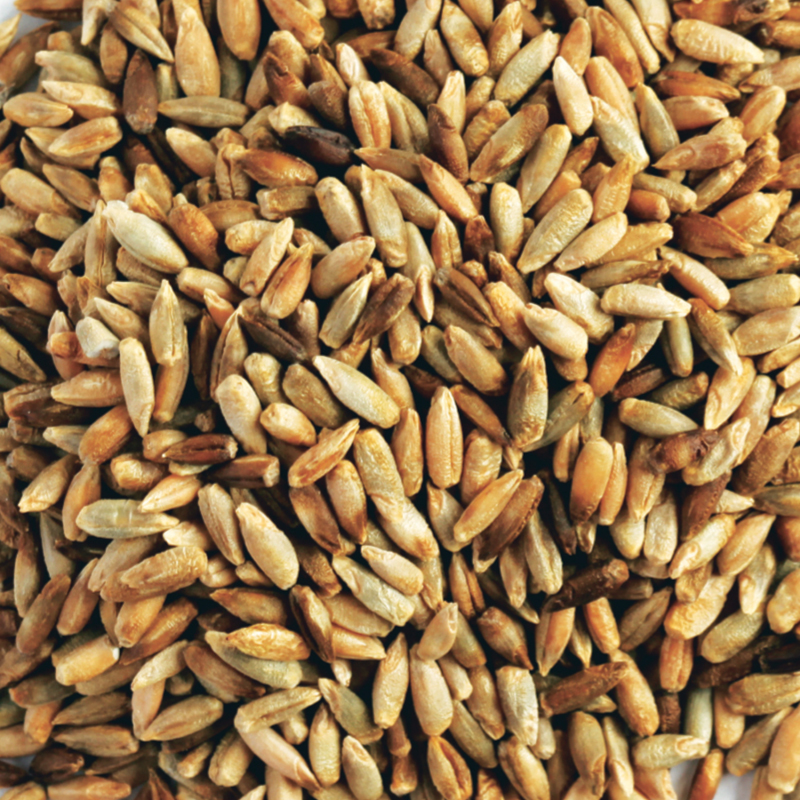
Organic Rye Grains/Rye Berries
Grown without synthetic pesticides or GMOs
A$12.00
Out of stock
Rye grain is the overwhelming favorite among professional and hobbyist mycologists alike, and for good reason. Its dense, spherical shape provides maximum surface area for mycelial growth, while its hard outer coat holds up well to the sterilization process without bursting.
Our organic rye berries are cleaned to perfection, ensuring you receive plump, uniform kernels ready to absorb water and nutrients. The result is a resilient, fast-colonizing spawn that is less prone to sour rot and ideal for almost every mushroom species, from Oysters to Shiitakes and actives.
Key Benefits:
Industry Standard: The trusted choice for consistent, reliable results.
Excellent Structure: Individual grains remain separate post-sterilization, making grain-to-grain transfers a breeze.
Nutrient-Dense: Provides the perfect balance of carbohydrates and proteins for explosive growth.
Perfect For: All mushroom species, especially those requiring a longer colonisation period.
Grain | Soak Time (Optional) | Simmer Time | Target Texture | Drying Time |
|---|---|---|---|---|
Rye Berries | 12-24 hours | 10-15 minutes | Hydrated, no split cores | Air dry until exterior is dry to the touch |
Wheat | 8-12 hours | 10-15 minutes | Slightly soft center, intact | Air dry until exterior is dry to the touch |
Millet | 4-6 hours (or none) | 15-20 minutes | Soft, no burst hulls | Spread thin and dry surface moisture |
Preparation Guide: How to Prepare Rye Grain for Sterilisation
Rinse: Thoroughly rinse the rye berries in cold water to remove any remaining dust or debris.
Soak (Optional but Recommended): Cover grains with water and soak for 12-24 hours. This jump-starts hydration and can help reduce contamination by allowing endospores to germinate, which are then killed in the PC. (Discard the soak water).
Simmer: Bring fresh water to a boil, add the grains, and simmer for 10-15 minutes. You are not trying to cook them fully. The goal is for the grains to plump up. A good test is to bite a kernel—it should be soft all the way through but with a slightly firm, "al dente" core. If the core is chalky and hard, simmer a few minutes longer. Be careful not to boil so long that the grains burst open.
Dry: Drain the grains in a colander. Spread them out in a single layer on a clean towel or screen. Air dry for 30-60 minutes, turning occasionally. The surface of the grains must be dry to the touch before loading into jars or bags. Excess moisture leads to contamination.
Load & Sterilize: Fill your jars or filter patch bags and sterilize according to your pressure cooker's instructions (typically 15 PSI for 90 minutes).
Copyright 2026 Underground Network Mycology Supplies Western Australia.